
-
The checklist: what to do when accuracy matters
-
1. Define the feature and tolerance before choosing the tool
-
2. Match the technology to the measurement job
-
3. Learn to read the digital readout correctly
-
4. Verify calibration status and traceability
-
5. Evaluate total cost, not just purchase price
-
6. Confirm delivery and support lead times before committing
-
7. Run a validation test on a known reference before production
-
1. Define the feature and tolerance before choosing the tool
-
Common mistakes to avoid
The checklist: what to do when accuracy matters
Every so often I get a call that sounds like this: a plant has a quality issue, the customer is waiting, and someone just realized the measurement system they bought six months ago can't hold the tolerance. My first question isn't, 'What did it cost?' It's, 'How much time do we have?'
After handling 200+ rush orders over the last decade, I've learned the same lesson repeatedly: the cheapest quote is rarely the cheapest outcome. This article is a checklist for engineers and QC managers evaluating Renishaw products, or any precision measurement tool, while the clock is running.
Seven steps. Skip one at your own risk.
1. Define the feature and tolerance before choosing the tool
Everything I'd read about metrology said start with accuracy. In practice, you need to start with the feature you're measuring and the tolerance band. A Renishaw laser encoder is the right tool for direct position feedback on a moving axis. It's overkill for measuring an outside diameter that an outside micrometer set can handle.
Write down three things: the dimension, the tolerance, and the environment. In that order. Then choose the technology.
2. Match the technology to the measurement job
Renishaw products fall into a few broad buckets: CMM probes and sensors, laser interferometers and laser encoders, encoder systems, and Raman microscopes. Each solves a different problem.
- Linear or rotary position: a Renishaw laser encoder gives high-accuracy position feedback with direct measurement of the axis, which avoids errors from ballscrews or gearboxes.
- Simple external dimensions: an outside micrometer set is a practical choice for shaft diameters, thicknesses, and similar checks. Just verify it against a gauge block first.
- Complex contoured surfaces or inline inspection: a 3d smart sensor can collect many measurement points quickly, especially when a CMM isn't practical for every part.
According to Renishaw's product documentation (renishaw.com), laser encoder systems provide direct measurement, meaning the reading represents the actual position of the axis rather than an inferred position from a rotating component.
3. Learn to read the digital readout correctly
Here's the thing: most measurement errors don't come from the sensor. They come from people misreading the display.
The rule is the same whether you're looking at a laser encoder readout, a digital micrometer, or a utility meter. If you've ever asked how to read a sensus digital water meter, you already know part of it: identify the unit, identify the resolution, and know whether the rightmost digit is a full digit or a test indicator.
A Sensus digital water meter usually shows total accumulated volume in gallons or cubic feet. The last digit on the right? That's normally a test dial or low-flow indicator, not a measurement you should log as a verified reading. The same logic applies in manufacturing. Don't treat the last decimal place as gospel unless you know the resolution and uncertainty.
4. Verify calibration status and traceability
People think 'calibrated' means 'correct forever.' Actually, it means compared to a reference at a moment in time.
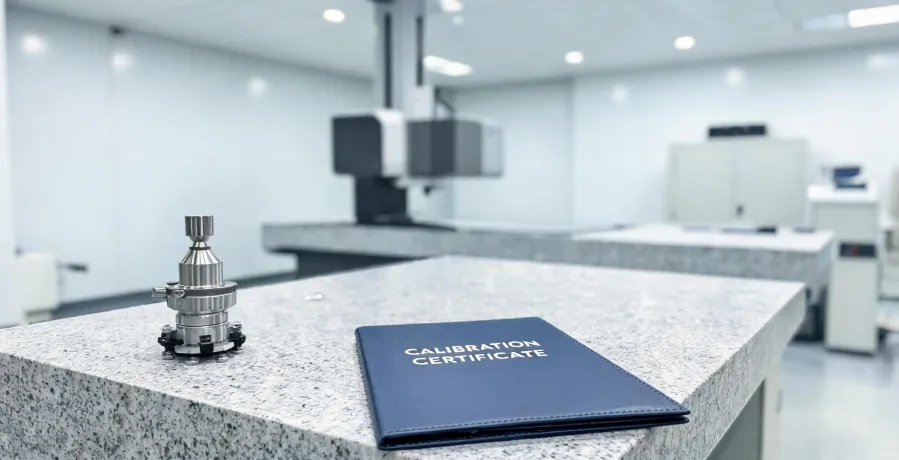
For an outside micrometer set, check the zero point with a standard, and use gauge blocks for spot checks. For a Renishaw laser encoder or interferometer, verify that the environmental compensation is active and the setup follows the manufacturer's procedure. For micrometers, ASME B89.1.13 spells out the calibration procedure.
I know this from experience. I knew I should verify the micrometer zero before a rush job, but I thought: 'We've used it for years. What are the odds?' That was the one time it had drifted. It cost more than a new calibration.
Per ISO 10360-2, coordinate measuring machines are verified against defined length measurements, not a single blanket claim. The same principle applies to your shop floor tools. Traceability matters.
5. Evaluate total cost, not just purchase price
Look, I'm not saying budget products are always bad. I'm saying you have to know where the risk lives.
People think precision tools are expensive because of the brand name. Actually, price follows the manufacturing tolerance and the calibration depth. Not the other way around.
When I compared a low-priced encoder and a Renishaw laser encoder side by side on the same axis, I finally understood why repeatability matters more than catalog resolution. The lower-cost unit looked fine on paper, but installation, integration, and troubleshooting ate the savings.
In my experience managing measurement projects, the lowest quote has cost us more in about 60% of cases. That $200 savings turned into a $1,500 problem when a wrong reading sent a machined part to scrap.
Think total cost: base price, setup, shipping, rush fees, downtime, and rework. Compute that before you buy.
6. Confirm delivery and support lead times before committing
As someone who coordinates emergency calibration and replacement orders, the second biggest mistake I see is ignoring lead time. A 3d smart sensor that arrives in eight weeks is useless for a project that ships in two.
We processed 47 rush orders in the last quarter alone, and 95% of them were on time because we asked the right questions upfront. Is it in stock? What is the calibrated lead time? Who do I call when something goes wrong at 4:00 PM on a Friday?
I want to say the last same-day emergency cost us around $800 in rush fees, but don't quote me on that exact number. The point is that we paid it because the alternative was stopping a production line.
7. Run a validation test on a known reference before production
This is the step most people skip. A new instrument can be correctly calibrated and still be set up wrong.
Before you use a new Renishaw probe, laser encoder, or 3d smart sensor for production parts, measure a known master or a part with documented values. Compare the reading, repeat it five times, and check the spread.
Consistency, not resolution, is what makes a measurement system trustworthy. If you get the same number every time but it differs from the master, the setup is wrong. If you get different numbers every time, the instrument or environment is the problem. Put another way, a precise measurement can still be inaccurate.
Common mistakes to avoid
- Buying the cheapest option for critical dimensions. The price is flashy; the scrap rate isn't. Hidden costs are what catch you.
- Skipping the verification step. The instrument might be right, but the fixture, cable, or readout can still introduce errors.
- Ignoring environmental effects. Temperature changes the length of both the part and the scale. A Renishaw laser encoder includes compensation, but only if it's set up correctly.
- Not documenting anything. A measurement without a written record is not a measurement. (note to self: enforce this more often.)
Renishaw products are not a commodity. Neither are outside micrometers, 3d smart sensors, or water meters. Choose based on the whole system, verify before you trust it, and always know what the display is actually telling you.