
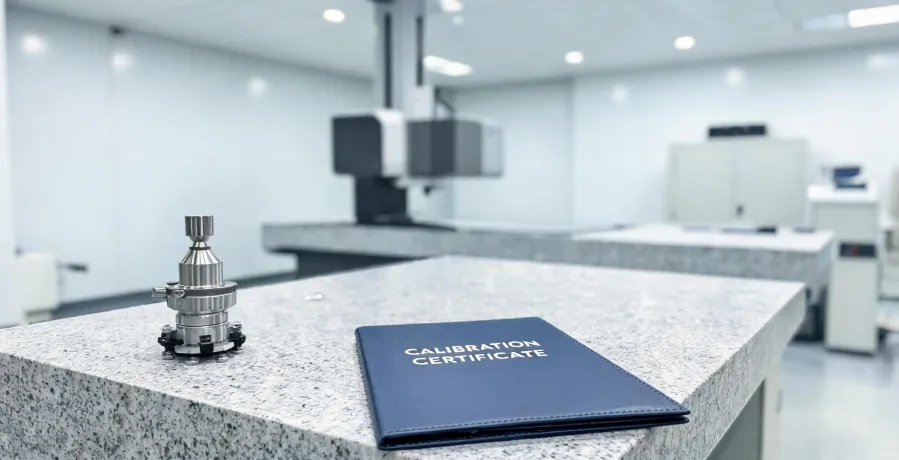
Most repeatability problems on a Renishaw Agility CMM aren't caused by the CMM. They're caused by the fixture. In our Q1 2024 quality audit, fixture-related setup issues accounted for 71% of failed measurement runs. The machine was fine. The fixturing was wrong. That one number changed how I review every new CMM program.
The machine reports what happened. The fixture determines whether that report means anything.
I'm a quality compliance manager at a precision engineering supplier. I review every fixture and CMM program before it reaches the shop floor—roughly 200 unique items a year. In 2024, I rejected 14% of first deliveries for not meeting position tolerance. Over four years, I've learned to trust measurements only when I trust the setup. Basically, verify the fixture, then verify the result.
If you're here because you need a quick answer: check your Renishaw CMM fixtures before you check the probe. Really. Most people don't realize that a calibrated CMM is only as good as the least stable part in the loop—and the least stable part is almost always the fixture.
Why I stopped trusting the demo
Renishaw's Agility CMM is genuinely fast. The scanning, the software, the entire package makes a strong first impression. The first time I saw it run, I thought, this machine can't miss. Then we ran a real part on a real fixture and the repeatability numbers went sideways.
Here's something vendors won't tell you: brochure accuracy specs are quoted under ideal conditions. That means controlled temperature, clean part, calibrated stylus, and a rigid fixture designed for that exact geometry. The machine can deliver that spec. But only if nothing in the loop moves. The fixture is where motion shows up.
The counterintuitive bit is that expensive doesn't mean rigid. A cheap 3D-printed fixture can be more repeatable than a steel fixture if the locating points are designed properly. I've seen it. (Not for high-tolerance aero parts—but for quick in-process checks, it worked.) The point isn't price. The point is whether the part lands in the same position every cycle.
The fixture is the first thing I check
In 2022, I implemented a verification protocol: every new Renishaw CMM fixture must produce at least 10 identical datum readings within a 0.001-inch band. Sounds obvious, but you'd be surprised how many fixtures pass a visual check and then drift under coolant, temperature shifts, or a worn locator.
One example still stings. We saved about $1,200 by buying an unvalidated fixture instead of a proper Renishaw fixture for a bracket program. The vendor said it was within spec. It wasn't. The part moved under probe force, the CMM kept reporting "bad part," and we scrapped 80 units before someone realized the fixture was the error. Net loss: roughly $9,000 in material and rework. A lesson learned the hard way.
I also see communication failures. I told the tooling team, "Secure the part." They heard, "Tighten the clamp." Result: a distorted flange and a measurement that didn't match their hand gage. We were using the same words but meaning different things. Discovered this when the operator asked, "How hard should I crank it?" The answer is: just enough to hold the part. That's it.
How I verify a fixture in five minutes
You don't need an expensive setup to catch common problems. This is what I do with every new fixture:
- Mount the fixture on the CMM and check the datum targets with a calibrated stylus. Record the coordinates.
- Unclamp, then clamp the same part again. If the coordinates change by more than your tolerance budget, the fixture isn't repeatable.
- Apply a light push at the unsupported end of the part. If the deflection is obvious, the setup needs more support.
- Take one good part and run it 10 times. If the probe contact repeats within the band you need, the fixture passes.
The whole checklist takes under 10 minutes. It has saved us multiple times. In fact, this was the protocol I introduced in 2022, and it's still the first thing I ask for when a new program starts.
Quick checks that look dumb but save money
Before you call Renishaw support about a flaky probe, grab a cheap bench multimeter. Check continuity on the probe head cable and connector pins. I've seen a loose connector mimic a failing encoder. One $15 multimeter solved a problem that would have cost a service call. The fix was reseating a connector. Period.
For all the people who search "how to use multimeter" and expect a complicated answer, here's the version I use most: set the meter to resistance/continuity, touch the two leads to the two ends of the cable, and listen for the beep. If you get a beep, the cable is fine. If you don't, something's broken. That covers 90% of the electrical checks I do on the floor.
Same logic applies to digital micrometers. If someone asks you how to turn on a Mitutoyo micrometer, the answer is usually "press the ON/OFF button." The display auto-sleeps after a few minutes. The "it's dead" thinking comes from an era when digital tools ran through batteries quickly. Today's micrometers go to sleep on purpose. I once watched an operator spend a full shift trying to qualify a batch of parts with a "dead" micrometer that simply needed its button pressed. Sounds silly, but the device was fine. The instruction wasn't.
These checks aren't in any calibration certificate. They're not glamorous. They work.
The same principle applies to HPLC columns
My background is mechanical, but I've spent enough time with our analytical lab to see the same pattern. When retention times drift, the first instinct is to blame the LC pump or the detector. Often the real issue is a contaminated or exhausted HPLC column. Same lesson: verify the component that touches the sample before distrusting the instrument.
Your measurement system is only as good as the weakest link. On an Agility CMM, that weak link is usually the fixture. In an HPLC run, it's often the column. In any inspection, it's the person who assumes the reference tool works.
Where this stops applying
This is not an argument for skipping machine calibration. If the CMM's glass scales, probe head, or stylus geometry are compromised, the best fixture in the world won't save you. Full verification per ISO 10360-2 still matters. That standard defines maximum permissible error for coordinate measuring machines under defined environmental conditions. If your shop floor temperature drifts beyond those limits, you're not measuring to spec.
As of Q1 2025, I still see teams treat fixture verification as a nice-to-have. It's not. But I also see teams blame fixtures when the real problem is thermal expansion or a damaged stylus. So do both: check the fixture, and check the machine. Just don't assume the expensive part is the only part that can fail.
I'm not claiming every measurement problem is a fixture problem. In our data, most of them are. That's enough for me to look at the fixture first. A quality manager should be skeptical of everything. Start with the thing that actually holds the part.